Blog
All Blog Posts | Next Post | Previous Post

 Extend TMS WEB Core with JS Libraries with Andrew:
Panning and Zooming
Tuesday, July 26, 2022

A couple of posts ago, we had a look at a handful of image sliders, typically used for, naturally, displaying a collection of images. And last time we had a look at Leaflet, an interact map, which is really also just a collection of images, precisely tiled, that you can pan and zoom. So this time out, we're going to take a look at how to pan and zoom regular images in our TMS WEB Core projects. And as luck would have it, we've got some excellent images to use for this purpose, provided courtesy of the James Webb Space Telescope.
There are many JavaScript libraries to choose from when it comes to this kind of thing. To make this as generic a solution as possible, we're
going to have a look at panzoom
which describes itself as an 'Extensible, mobile friendly pan and zoom framework (supports DOM and SVG).' We'll also
include many snippets from our previous work to help make this a more fully featured web application.
Motivation.
As always, when deciding whether to add yet another JavaScript library to our toolkit, we might ask ourselves whether there
is a legitimate need for something new or whether this can be better handled by something in our toolkit already. Or even whether we're adding bloat for no benefit. Well, in this case, looking around at other websites that have
published JWST images (and there are a fair few!) it seems many typically took the easy route and don't really
offer much in the way of a pan and zoom interface, even leaving it just to the browser in some cases. Certainly,
some do provide a proper interface. But with the size of these images, and the kinds of devices they're likely to be
viewed on, a pan and zoom interface is pretty well justified. None of the libraries we've covered so far (as near as
I can tell?) offer anything comprehensive in this particular area.
Setting the Stage.
To make this a more complete example, we're going to first set up a bit of an environment to show a list of images. And this may be completely above and beyond what is necessary for this kind of thing, or it may be barely acceptable, depending on how many images you want to display and how you want to present them. For our purposes, we'd like to have a list of images with a bunch of details about them, including thumbnails, image size, sources, and so on. We'll be only using a handful of images here, but it isn't difficult to imagine connecting this to an external source of image data or a search function, where this list could grow considerably. And we'd also like to be a little fancy here, maybe experiment with a few ideas and see what kinds of things work and what kinds of things maybe don't work as well.
Let's start with a standard, regular run-of-the-mill TMS WEB Core project. We'll do the usual dark style with rounded corners at every conceivable opportunity. We'd like this to work in as many places as possible, so we'll start with an image list in the middle, set to a width of 380px. This should make it workable from the smallest mobile device to a 4K desktop. We'll be using quite a few libraries, but we'll add them in as we go. To start with, we'll be using the usual Bootstrap and Font Awesome libraries, and JSDelivr as our CDN. Easily replaced with other choices here if you prefer.
    <script src="https://cdn.jsdelivr.net/npm/bootstrap@latest/dist/js/bootstrap.bundle.min.js" type="text/javascript"></script>
    <link crossorigin="anonymous" href="https://cdn.jsdelivr.net/npm/bootstrap@latest/dist/css/bootstrap.min.css" rel="stylesheet"/>
    <link rel="stylesheet" href="https://cdn.jsdelivr.net/npm/@fortawesome/fontawesome-free@6.1.1/css/all.min.css">
For the main interface, we'll just have a vertical list of images, so we'll set aside an area for that. We're going to be doing a few different things here, so let's set up a divBackground and a divMain within it, both TWebHTMLDiv components. For divMain, we'd like it to be centered, 380px wide, and stretched to fill the height of divBackground with a top and bottom margin of 10px, as well as a simple border. divBackground will be black for the moment. We'll eventually be needing a custom CSS file, so let's add these divMain attributes there. We can use CSS Flex to do the hard parts and even make use of some CSS calculations. Lots of other ways to do the same thing, but this works pretty well. Here are the contents of our custom1.css so far.
body {
  width: 100vw;
  height: 100vh;
  overflow: hidden;
}

#divBackground {
  background-color: #000;
  display: flex;
  justify-content: center;
  align-items: center;
}

#divMain {
  background-color: var(--bs-dark);
  height: calc(100% - 20px);
  border-radius: 10px;
  border-color: var(--bs-secondary);
  border-width: 2px;
}
This gets us our blank template to start with. Should look something like this.

Blank Starting Template.
CSS Effects.
One of the problems with responsive design is figuring out how to best present things. In this case, we've just got a list, but a super-wide screen to display the list on. One common approach is that the elements of the list (rows) would become less tall and wider, and thus have more elements on the screen at once. As the width of the page shrinks, the row would become taller and less wide, to the point where individual rows might take up the whole screen. Sometimes this works well. Sometimes it works less well. For our project today, we're going to take the easy route and assume that the rows stay the same size, and you just get to see more of them if you have a taller display. But to quote a line from the movie Contact, that "seems like an awful waste of space" for a typical desktop user. Just for fun, let's find some kind of fancy CSS background filler. As we're displaying space images, a space theme might be nice.
Let's give this one a try: https://www.cssscript.com/animated-starfield-effect This is actually mostly a JavaScript-created effect, just needing a canvas element to latch on to. One problem that arises from some of these effects is that they can be rather CPU-intensive to run. So it might be an idea to exclude them from certain devices or somehow lighten their impact. We'll slow this one down a bit and turn down some of its options to tame that aspect a little. What we're left with is mostly a little block of code that has been added as part of FormShow. To give it some space to do its thing, we'll need to add another TWebHTMLDiv and also within that define a <canvas> tag for it to reference, with an id of "StarField".
procedure TForm1.WebFormShow(Sender: TObject);
var
canvaswidth: Integer;
canvasheight: Integer;
begin
canvaswidth := divBackground.Width;
canvasheight := divBackground.Height;
asm
// Adapted from https://www.cssscript.com/animated-starfield-effect/
const canvas = document.getElementById('StarField');
const c = canvas.getContext('2d');
canvas.width = canvaswidth;
canvas.height = canvasheight;
//on mouse scroll changes speed and color
canvas.addEventListener('wheel', (event) => {
c.strokeStyle = 'rgb('+Math.random()*255+', '+Math.random()*255+', '+Math.random()*255+')';
if (event.deltaY < 0) speed *= 1.1;
else speed *= 0.9;
if (speed < 0.01) speed = 0.01; else if (speed > 0.1) speed = 0.1;
});
class Star {
constructor() {
//initializing
this.x = Math.random()*canvas.width-canvas.width/2; //random x
this.y = Math.random()*canvas.height-canvas.height/2; //random y
this.px, this.py;
this.z = Math.random()*4; //random z
}
update() {
//stores previous x, y and z and generates new coordinates
this.px = this.x;
this.py = this.y;
this.z += speed;
this.x += this.x*(speed*0.2)*this.z;
this.y += this.y*(speed*0.2)*this.z;
if (this.x > canvas.width/2+50 || this.x < -canvas.width/2-50 || this.y > canvas.height/2+50 || this.y < -canvas.height/2-50) {
this.x = Math.random()*canvas.width-canvas.width/2;
this.y = Math.random()*canvas.height-canvas.height/2;
this.px = this.x;
this.py = this.y;
this.z = 0;
}
}
//draws line from x,y to px,py
show() {
c.lineWidth = this.z;
c.beginPath();
c.moveTo(this.x, this.y);
c.lineTo(this.px, this.py);
c.stroke();
}
}
let speed = 0.01;
let stars = [];
let skip = 0;
// create 500 stars (objects)
for (let i = 0; i < 500; i++) stars.push(new Star());
c.fillStyle = 'rgba(0, 0, 0, 0.1)';
c.strokeStyle = 'rgb('+Math.random()*255+', '+Math.random()*255+', '+Math.random()*255+')';
c.translate(canvas.width/2, canvas.height/2);
function draw() {
//create rectangle
if (skip % 4 == 0) {
c.fillRect(-canvas.width/2, -canvas.height/2, canvas.width, canvas.height);
for (let s of stars) {
s.update();
s.show();
}
}
//infinte call to draw
skip++;
requestAnimationFrame(draw);
}
draw();
end;
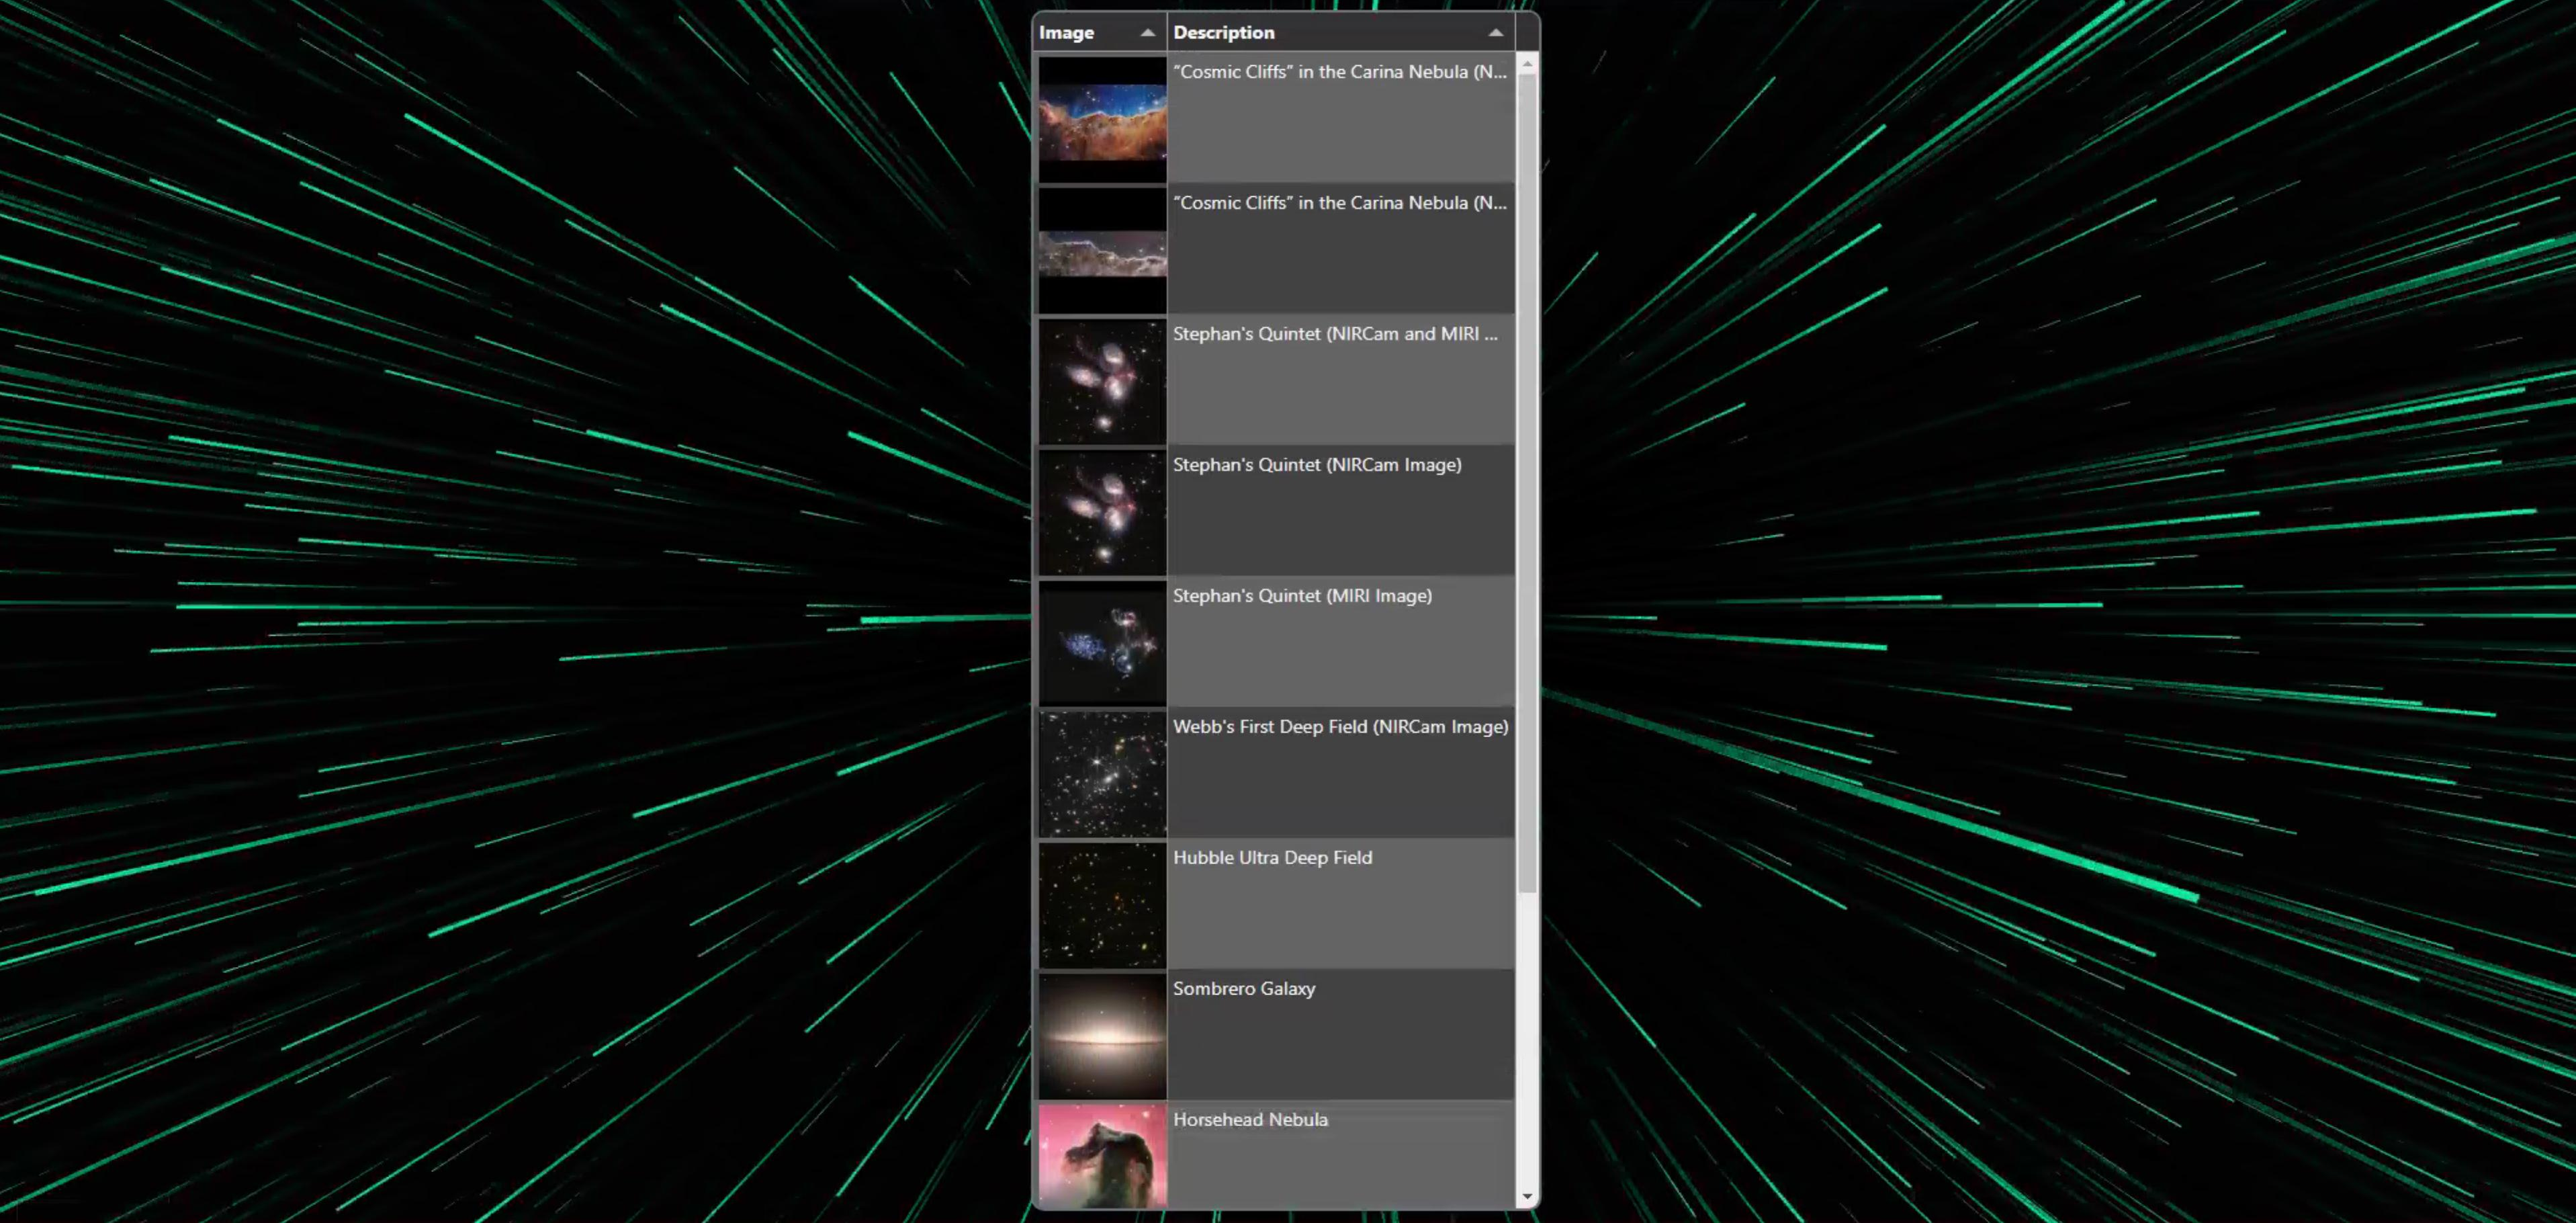
end;The effect can be altered by scrolling the mouse wheel, which speeds up or slows down the animation and also changes the color. By default, our project should now look something like this. Definitely a little more fun. We also had to make a small change to add a z-index to our divMain CSS so that it appears above the effect.
CSS StarField Animation.
Image List.
Lots of options here. Certainly, any of the sliders we've covered would be solid candidates. Even just a TWebScrollBox with a handful of fixed TWebPanels would work pretty well if this was going to be a static list. But let's consider that this might have a lot of images and that we might even want to filter the list or sort it. Neither of those options is particularly well suited to that scenario, so let's go completely overboard and just throw in a Tabulator table and see where that gets us. But first, we'll need a list of images to start with.
It would be most beneficial if we could also have a lo-res and a hi-res URL for each image, to help with lazy loading and for displaying thumbnails. As this is astronomy and not movies or TV shows, we're also going to assume that we've got square images. Some nice imagery from https://webbtelescope.org/resource-gallery/images might be a good place to start. And of course, the James Webb telescope is so new that there's not much imagery available, so let's also add some from the list at https://www.eso.org/public/images/archive/top100/. We'll need to build an array. Here are the first couple of images, limited for brevity. The rest can be found in the project source code.
procedure TForm1.WebFormCreate(Sender: TObject);
begin

  asm
    var imagedata = [
      { ID: 1,
        NAME:       '“Cosmic Cliffs” in the Carina Nebula (NIRCam Image)',
        URL:        'https://webbtelescope.org/contents/media/images/2022/031/01G77PKB8NKR7S8Z6HBXMYATGJ',
        DATE:       '2022-07-12',
        INSTRUMENT: ['NIRCam'],
        SMALL:      { URL:    'https://stsci-opo.org/STScI-01G77PM8QXPC2SJFVNK54S0YVA.png',
                      FORMAT: 'PNG',
                      WIDTH:  400,
                      HEIGHT: 400 },
        LARGE:      { URL:    'https://stsci-opo.org/STScI-01G8GX6MG9VC1BVR5NRK8C660A.png',
                      FORMAT: 'PNG',
                      WIDTH:  2000,
                      HEIGHT: 1158 },
        FULL:       { URL:    'https://stsci-opo.org/STScI-01G8GX1KMWX2XA4PK2EWM7KE3R.png',
                      FORMAT: 'PNG',
                      SIZE:   124.71,
                      WIDTH:  14575,
                      HEIGHT: 8441 }
      },
      { ID: 2,
        NAME:       '“Cosmic Cliffs” in the Carina Nebula (NIRCam and MIRI Composite Image)',
        URL:        'https://webbtelescope.org/contents/media/images/2022/031/01G77PKB8NKR7S8Z6HBXMYATGJ',
        DATE:       '2022-07-12',
        INSTRUMENT: ['NIRCam', 'MIRI'],
        SMALL:      { URL:    'https://stsci-opo.org/STScI-01G780XW8ETR4MMECD5DN7GGQW.png',
                      FORMAT: 'PNG',
                      WIDTH:  400,
                      HEIGHT: 400 },
        LARGE:      { URL:    'https://stsci-opo.org/STScI-01G8GYE2PQWY96TDX66CHQRMPQ.png',
                      FORMAT: 'PNG',
                      WIDTH:  2000,
                      HEIGHT: 693 },
        FULL:       { URL:    'https://stsci-opo.org/STScI-01G8GYD8B1H306SSPR4MY6NGN0.png',
                      FORMAT: 'PNG',
                      SIZE:   47.84,
                      WIDTH:  11264,
                      HEIGHT: 3904 }
      }
    ];
  end;
end;
Ideally, image data might be retrieved from some kind of REST API (provided by NASA or other organizations, in this astronomy example) or even via an RSS feed or something like that, as you wouldn't normally want to be entering image data manually. It wouldn't even be that difficult to scrape the images from such a website if there were no other API-style alternatives (and it wasn't strictly forbidden by the website).
The idea is to just include enough data to make our UI work. In this case, there are many other details about the images available at the original links for people who want to know more, so the app will need to provide those links as well. Partly for attribution and partly because it is just a good idea, whenever more data about an image is available. All of the information included above was taken directly from the referenced websites, so full credit to them and to NASA and the many James Webb Space Telescope teams as well for everything that led up to these first images. Quite something to see! But how do we actually see them?
Tabulator First Cut.
As the data is already in a JSON object, we can actually just hand it over to Tabulator and go from there. We'll need to add a couple of Tabulator links to our Project.html. Let's go with their supplied 'midnight' theme and make adjustments from there as needed.
    <script src="https://cdn.jsdelivr.net/npm/tabulator-tables@5.3.1/dist/js/tabulator.min.js"></script>
    <link rel="stylesheet" href="https://cdn.jsdelivr.net/npm/tabulator-tables@5.3.1/dist/css/tabulator_midnight.min.css">
Now, we can just add a Tabulator to the divMain element that we created originally. It can figure out a lot of things on
its own, but as we'll be making a lot of tweaks to the resulting output, let's get a bit of it out of the way first,
like defining a couple of columns and some Tabulator options.
For example, we'll want 100x100 thumbnails, so our row height will naturally be 100px, and the first column will be 100px wide as it will be the image column. Quickly putting this together looks like this, which comes immediately after the array definition above in WebFormCreate.
    var tabulator = new Tabulator("#divMain",{
      data: imagedata,
      rowHeight: 100,
      layout: "fitColumns",
      columns: [
        { title: "Image",
          field: "SMALL.URL",
          width: 100,
          formatter: "image",
          formatterParams: {width: 100, height: 100 }
        },
        { title: "Description",
          field: "NAME",
        }
      ]
    });
Nothing too terribly complicated. But with that little bit, things start to look a lot more functional. We've got a
list of images and a bit of information about them. And we can scroll the list and sort it in a couple of ways,
which we'll be refining shortly. But first, a quick peek at where we're at.
Tabulator Defaults.
Image Column.
There are a few things here we'll need to adjust. First, all cells in Tabulator have a default padding. In this case, we don't really want that default padding and might instead prefer the images displayed with the maximum space available. In a previous example, we accomplished this by removing all of the padding from Tabulator cells and then adding it back in where needed. So this time, let's just try the reverse. One way is to add a custom CSS class to this field, which we can then override in our CSS file. In the Tabulator column definition, we can set a custom class like this.
        { title: "Image",
          field: "SMALL.URL",
          cssClass: "Image",
          width: 100,
          formatter: "image",
          formatterParams: {width: 100, height: 100 }
        },
And then in our custom1.css file, we can adjust the positioning by referencing this class. We'll also adjust the
row height to 101px so we end up with a 1px line between the images.
.Image {
  padding: 0px !important;
}
That default sort icon is also really big, so let's replace it with Font Awesome sort icons instead, as we've done in
previous projects. The newest version of Tabulator makes it possible to do this without CSS, which is a nice
improvement. This is adapted from the Tabulator
Documentation about exactly this issue.
While we're at it, we can also set the default sort to be descending by date. In the data, the date entered was the last date that data was collected, if known, or the release date of the image otherwise. So naturally, all the JWST images should be first, followed by Hubble and VLT images. Note that we also have to tell Tabulator that we've got a date column, even if we're not going to display it directly. And we might as well make the columns a tri-state sort, meaning they can be sorted up or down or reverted back to their unsorted state. This is set at the column level. Our Tabulator definition now looks like this.
     var tabulator = new Tabulator("#divMain",{
      data: imagedata,
      rowHeight: 101,
      layout: "fitColumns",

      initialSort:[ {column:"DATE", dir:"desc"} ],
      headerSortElement: function(column, dir){
        switch(dir){ case "asc":  return "<span style='color:white;'><i class='fa-solid fa-sort-up'></span>";
                                  break;
                     case "desc": return "<span style='color:white;'><i class='fa-solid fa-sort-down'></span>";
                                  break;
                     default:     return "<i class='fa-solid fa-sort'>";
      }},

      columns: [
        { title: "Image",
          field: "SMALL.URL",
          cssClass: "Image",
          headerSortTristate: true,
          width: 100,
          formatter: "image",
          formatterParams: {width: 100, height: 100 }
        },
        { title: "Description",
          field: "NAME",
          headerSortTristate: true
        },
        { title: "Date",
          field: "DATE",
          visible: false
        }
      ]
    });
And our updated interface now shows the smaller icons, and the properly fitted images, along with the default
sorting in place. We'll come back to this in a bit to sort out a few other things, but we've now got a
better-looking display.
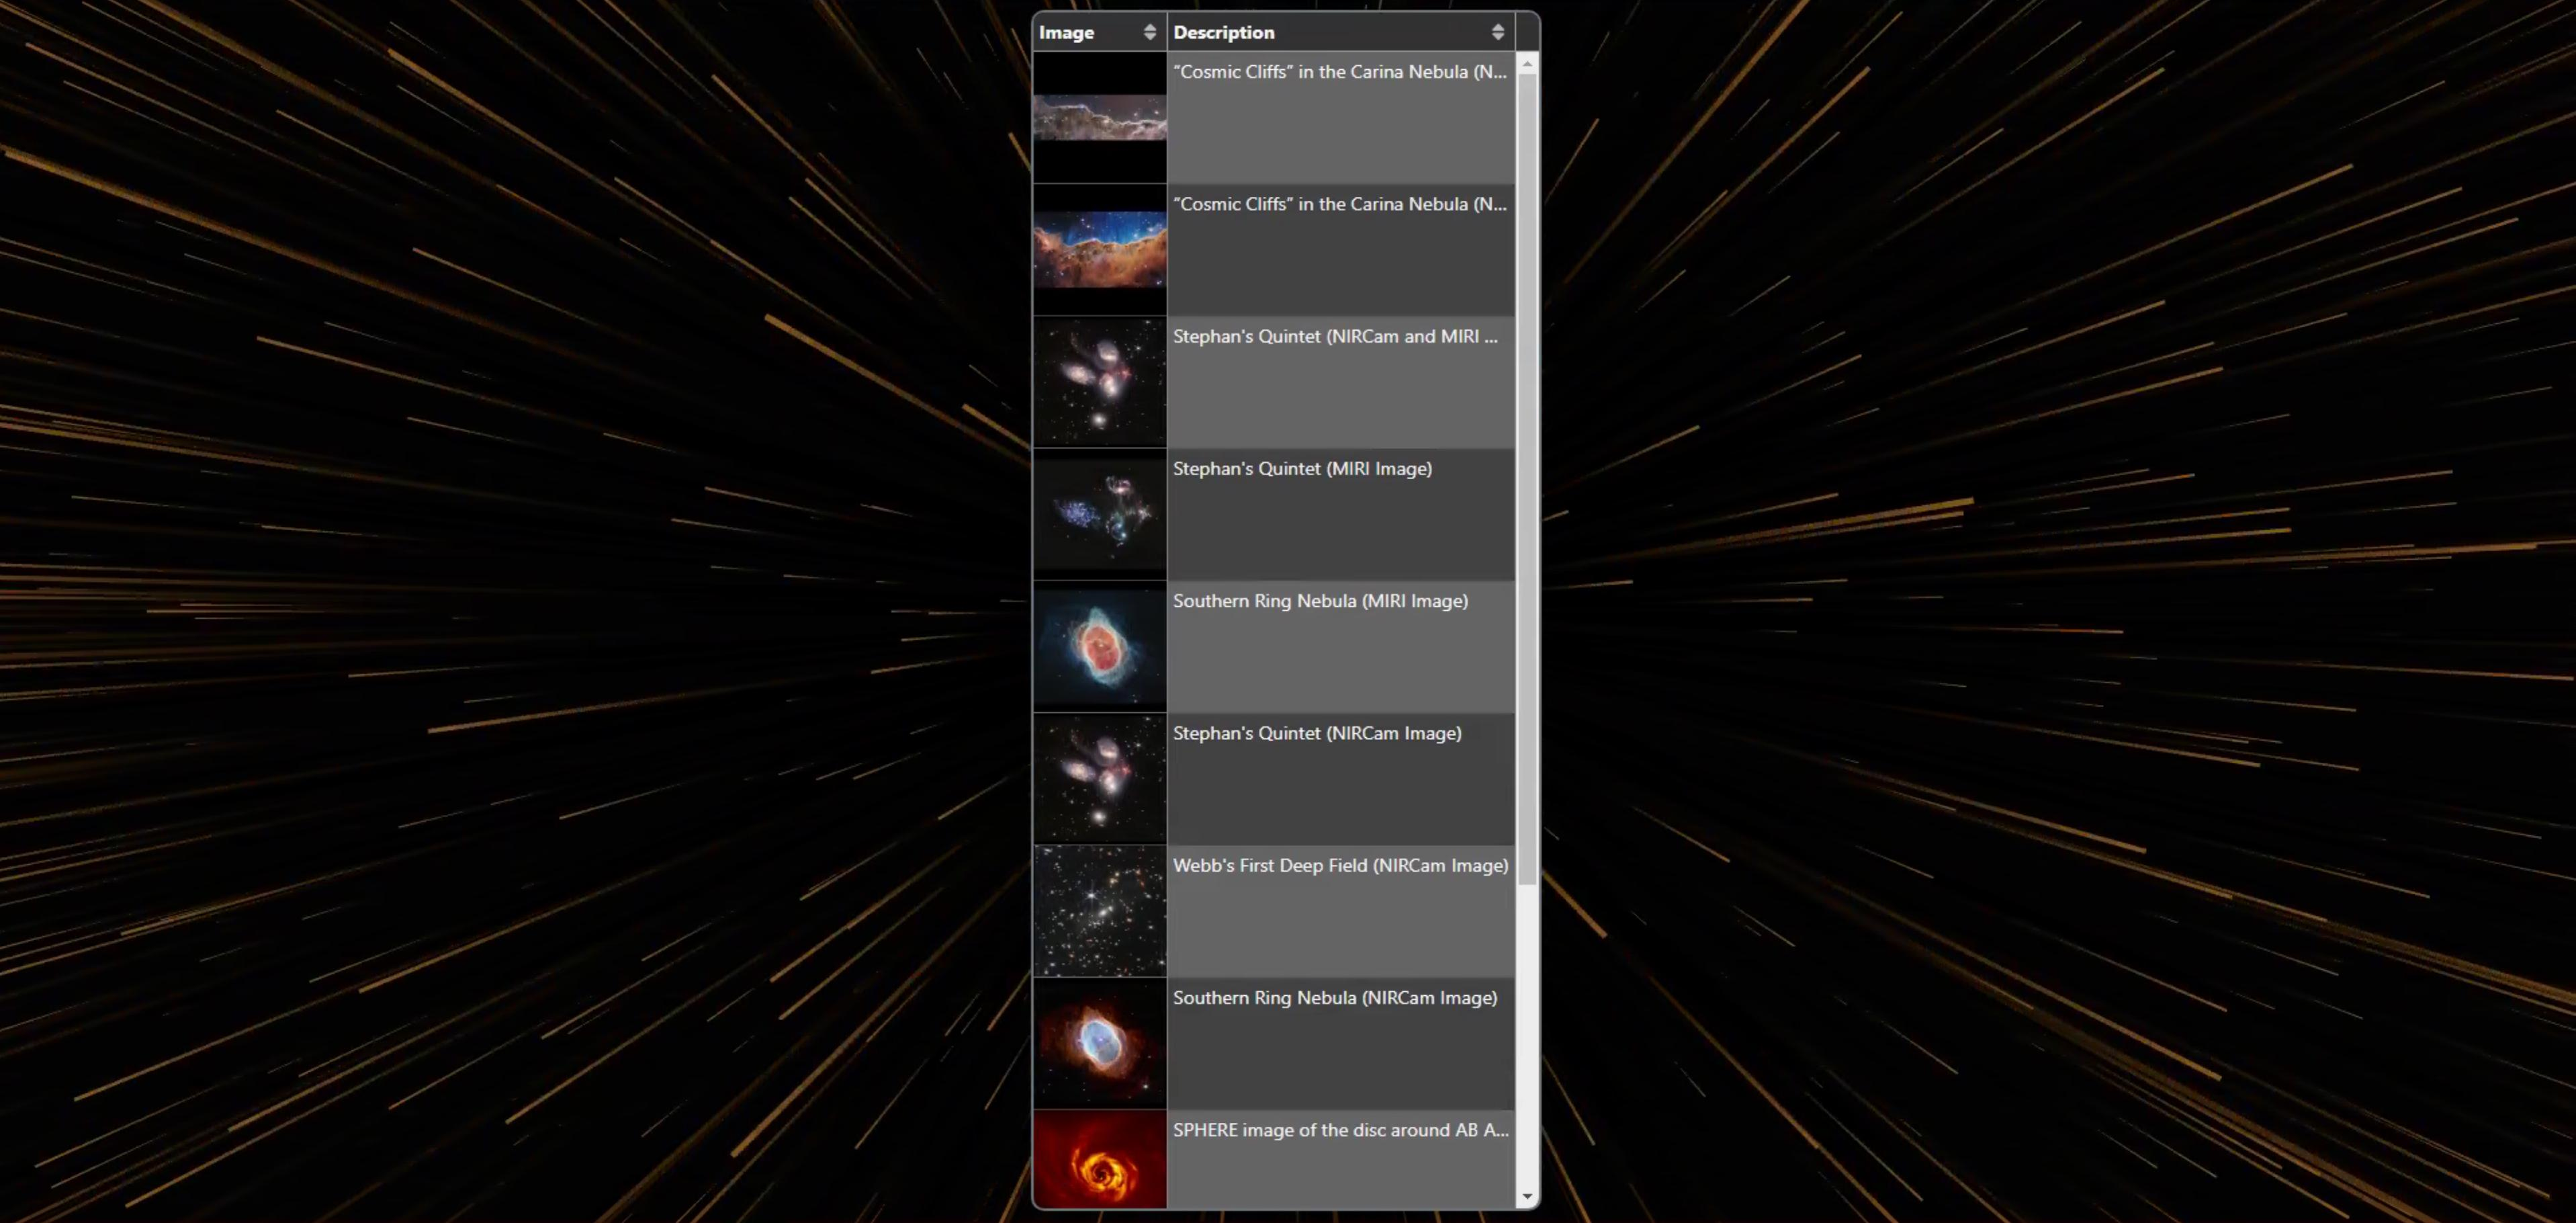
Image Column Cleaned Up.
Image Viewer.
In order to display a larger view of an image, we're going to use the cellClick callback within Tabulator to launch a Delphi function that handles the display. We're going to have another TWebHTMLDiv on hand for this, divViewer, which is what will contain the larger version of the image we're selecting. It will take up the majority of the screen (save for a 10px border, beyond which we can still see our animated background) and will initially display the image as large as possible while still maintaining the correct aspect ratio. As we'll need the URL for the full image, we'll need to be sure this is available in a column in Tabulator as well.
        { title: "Image",
          field: "SMALL.URL",
          cssClass: "Image",
          headerSortTristate: true,
          width: 100,
          formatter: "image",
          formatterParams: {width: 100, height: 100 },
          cellClick:function(e, cell){
            //e - the click event object
            //cell - cell component
            var imageurl = cell.getRow().getCell('FULL.URL').getValue();
            pas.Unit1.Form1.DisplayImage(imageurl);
        },
        { title: "Full Image URL",
          field: "FULL.URL",
          visible: false
        }
On the Delphi side, we've got a DisplayImage procedure. It sets up the divViewer component and loads the image passed to
it. We'll add a few more things shortly but the idea here is that it is just displaying the full image centered on
the page, where we're assuming that a 100% height will give us the size that we want. We could do the same with
100% width, or even be smarter about picking one or the other based on the aspect ratio of the image and the aspect
ratio of the display. But for now, we've got this. Clicking on the image hides it and returns us to the list of
images. Pretty basic.
procedure TForm1.DisplayImage(imageurl: String);
begin
  divViewer.Visible := True;
  divViewer.HTML.Text := '<div id="Viewer" style="width:100%; height: 100%; display: flex; justify-content:center; align-items:center;">'+
                           '<img src="'+imageurl+'" height=100% >'+
                         '</div>';
end;
PanZoom.
For the main event, we just need to load up the panzoom JavaScript library and connect it to the divViewer, which we can do in
the DisplayImage procedure as well. But first, we have to add panzoom to our Project.html file.
<script src="https://cdn.jsdelivr.net/npm/panzoom@9.4.3/dist/panzoom.min.js"></script>
And then we can reference it in DisplayImage. Also, we'll dispense with the click event we just set up as that
interferes with our panzoom interaction. Instead, we'll add some buttons in the top-right corner to close and set
the zoom levels. The only parameters we're passing
to panzoom are the min/max zoom values. There are a handful of other options available as well, related to how the
mousewheel works, keyboard handling, double-click options, and so on. It is a very small JavaScript library, but the
documentation is clear and concise for all these kinds of options.
procedure TForm1.DisplayImage(imageurl: String);
begin
  divViewer.Visible := True;
  divViewer.HTML.Text := '<div id="Viewer" style="width:100%; height: 100%; display: flex; justify-content:center; align-items:center;">'+
                      '<img src="'+imageurl+'" height=100% >'+
                    '</div>';

  asm
    var element = document.querySelector('#Viewer')
    this.pz = panzoom(element, {
      maxZoom: 100,
      minZoom: 0.75
    });
  end;

end;

procedure TForm1.btnCloseClick(Sender: TObject);
begin
  divViewer.Visible := False;
  asm
    this.pz.dispose();
  end;
end;
And now we can pan and zoom images! Pretty easy. Let's also add more control icons so we don't get lost in
our image. We'd like to 'reset' the pan and zoom back to the start and have icons for zooming in and out. We'll
use CSS Flex to display the control icons. Note that this interferes with how TMS WEB Core handles object visibility so
we'll manually flip between the Bootstrap CSS classes d-flex and d-none to handle this manually.
procedure TForm1.btnZoomInClick(Sender: TObject);
var
  x,y: Double;
begin
  x := divViewer.ElementHandle.offsetWidth/2;
  y := divViewer.ElementHandle.offsetHeight/2;
  asm
    this.pz.smoothZoom(x, y, 1.25);
  end;
end;

procedure TForm1.btnZoomOutClick(Sender: TObject);
var
  x,y: Double;
begin
  x := divViewer.ElementHandle.offsetWidth/2;
  y := divViewer.ElementHandle.offsetHeight/2;
  asm
    this.pz.smoothZoom(x, y, 0.75);
  end;
end;

procedure TForm1.btnZoomResetClick(Sender: TObject);
begin
  asm
    this.pz.dispose();
    var element = document.querySelector('#Viewer')
    this.pz = panzoom(element, {
      maxZoom: 100,
      minZoom: 0.75
    });
  end;
end;

procedure TForm1.DisplayImage(imageurl: String);
begin
  divViewer.Visible := True;
  divViewerControls.ElementHandle.classList.replace('d-none','d-flex');

  divViewer.HTML.Text := '<div id="Viewer" style="width:100%; height: 100%; display: flex; justify-content:center; align-items:center;">'+
                      '<img src="'+imageurl+'" height=100% >'+
                    '</div>';

  asm
    var element = document.querySelector('#Viewer')
    this.pz = panzoom(element, {
      maxZoom: 100,
      minZoom: 0.75
    });
  end;

end;

procedure TForm1.btnCloseClick(Sender: TObject);
begin
  divViewer.Visible := False;
  divViewerControls.ElementHandle.classList.replace('d-flex','d-none');
  asm
    this.pz.dispose();
  end;
end;
Now our viewer has controls and we can zoom in to check out the finest detail of the images. Here's what it looks
like zoomed in on an element that isn't even visible at the original size.
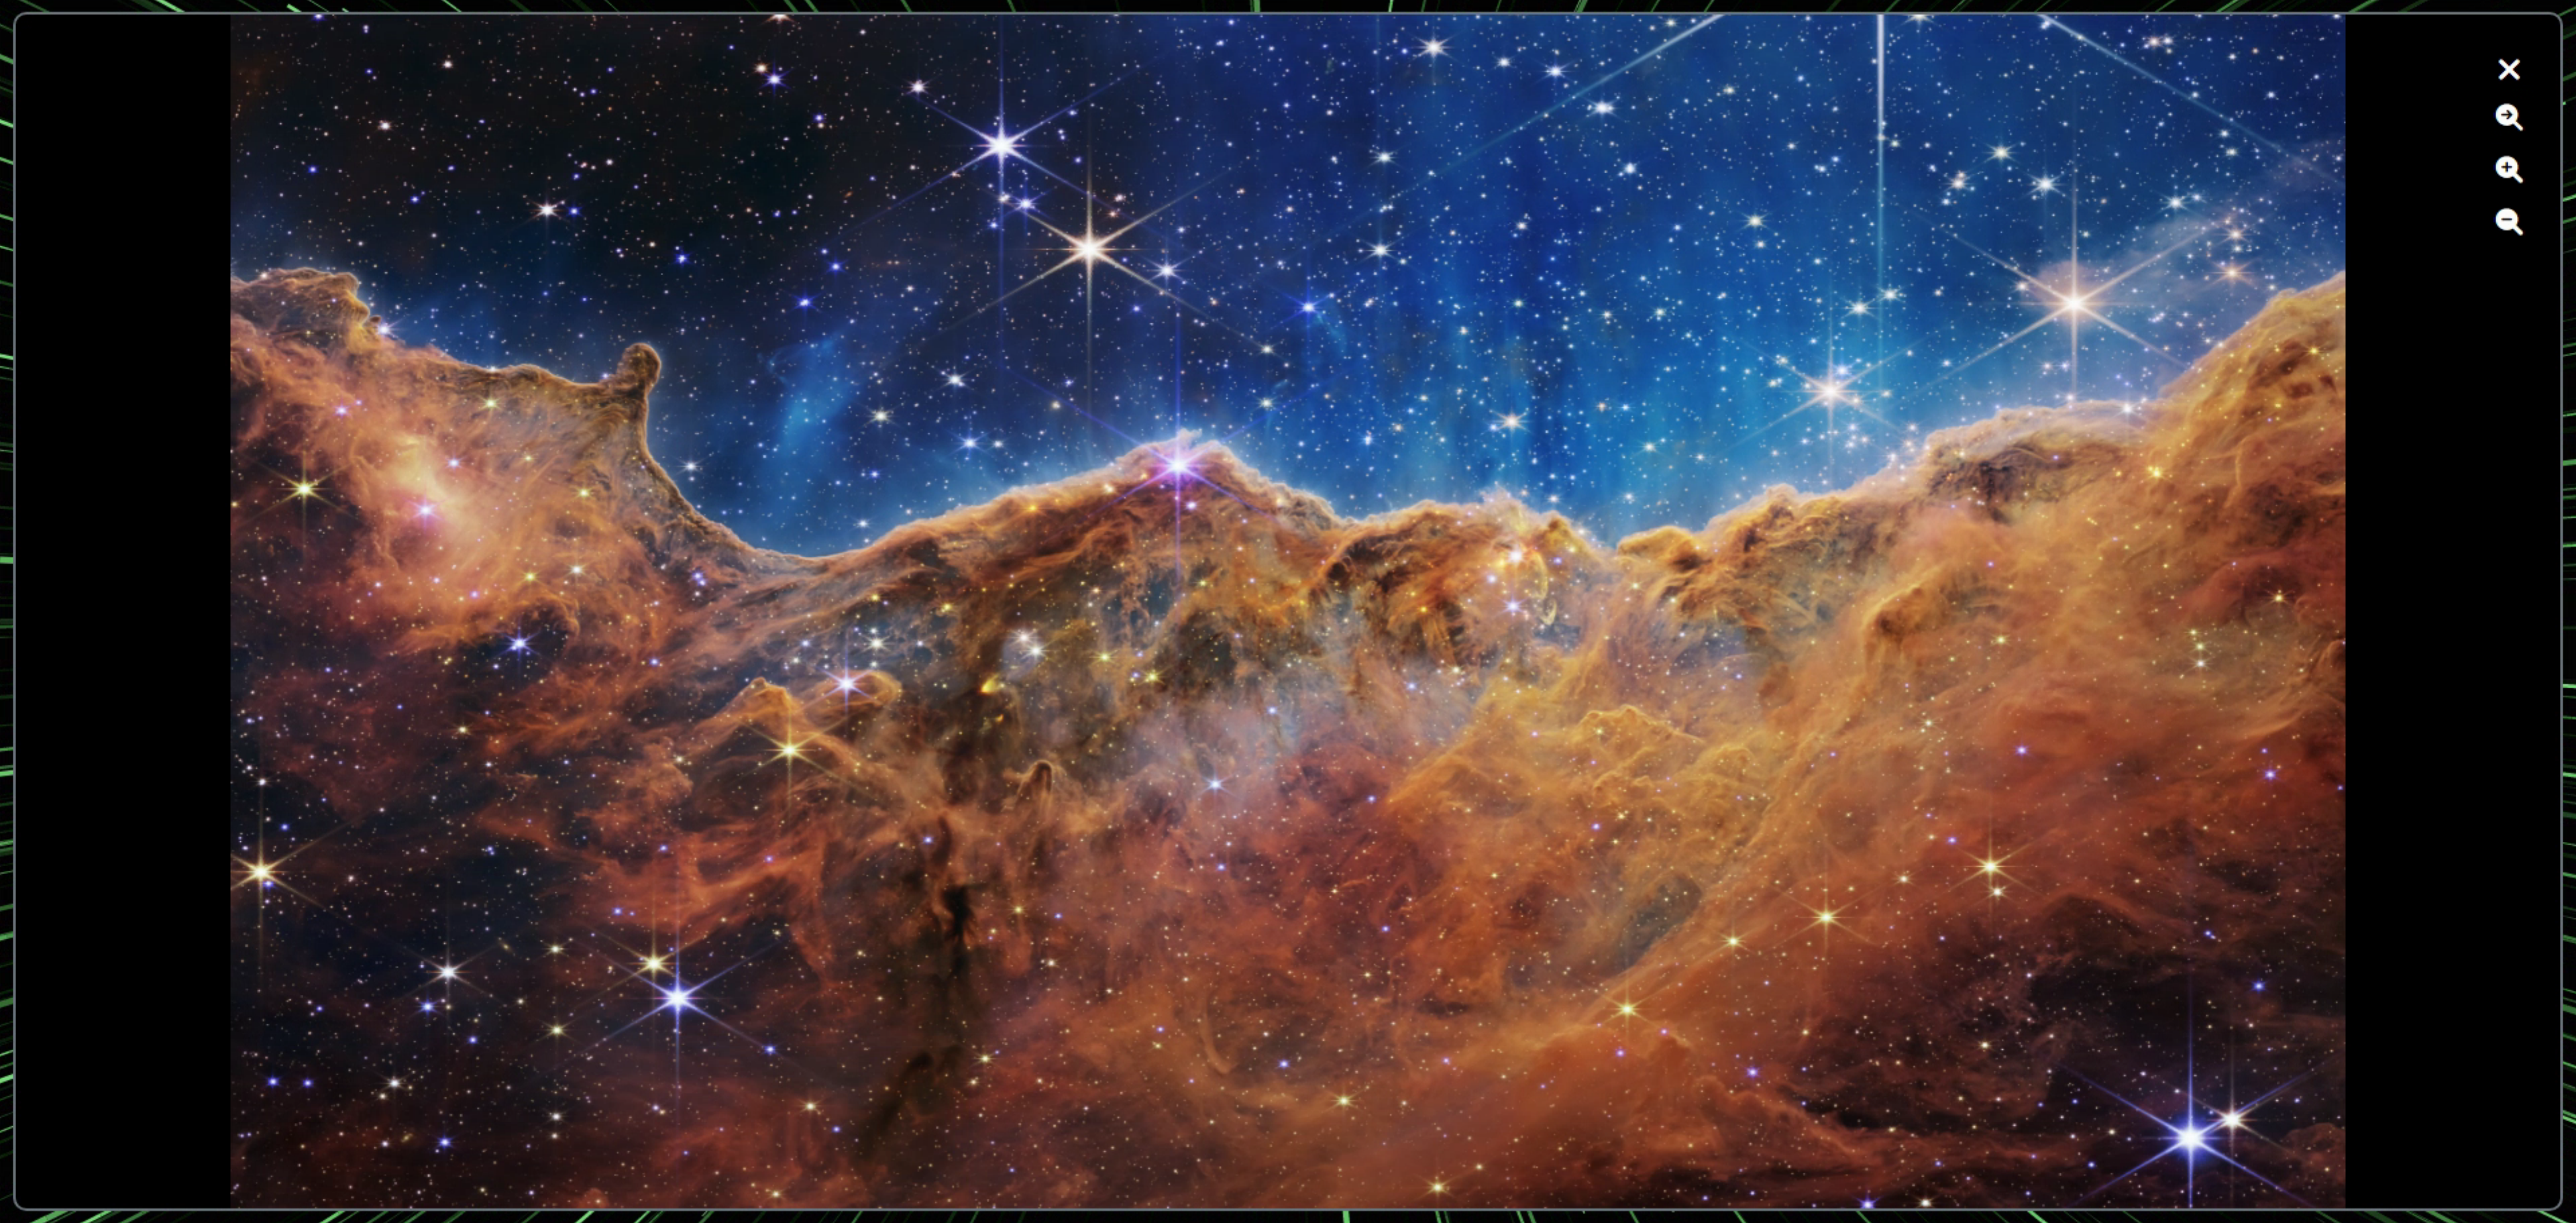
Original Image

Top-Left Quadrant.
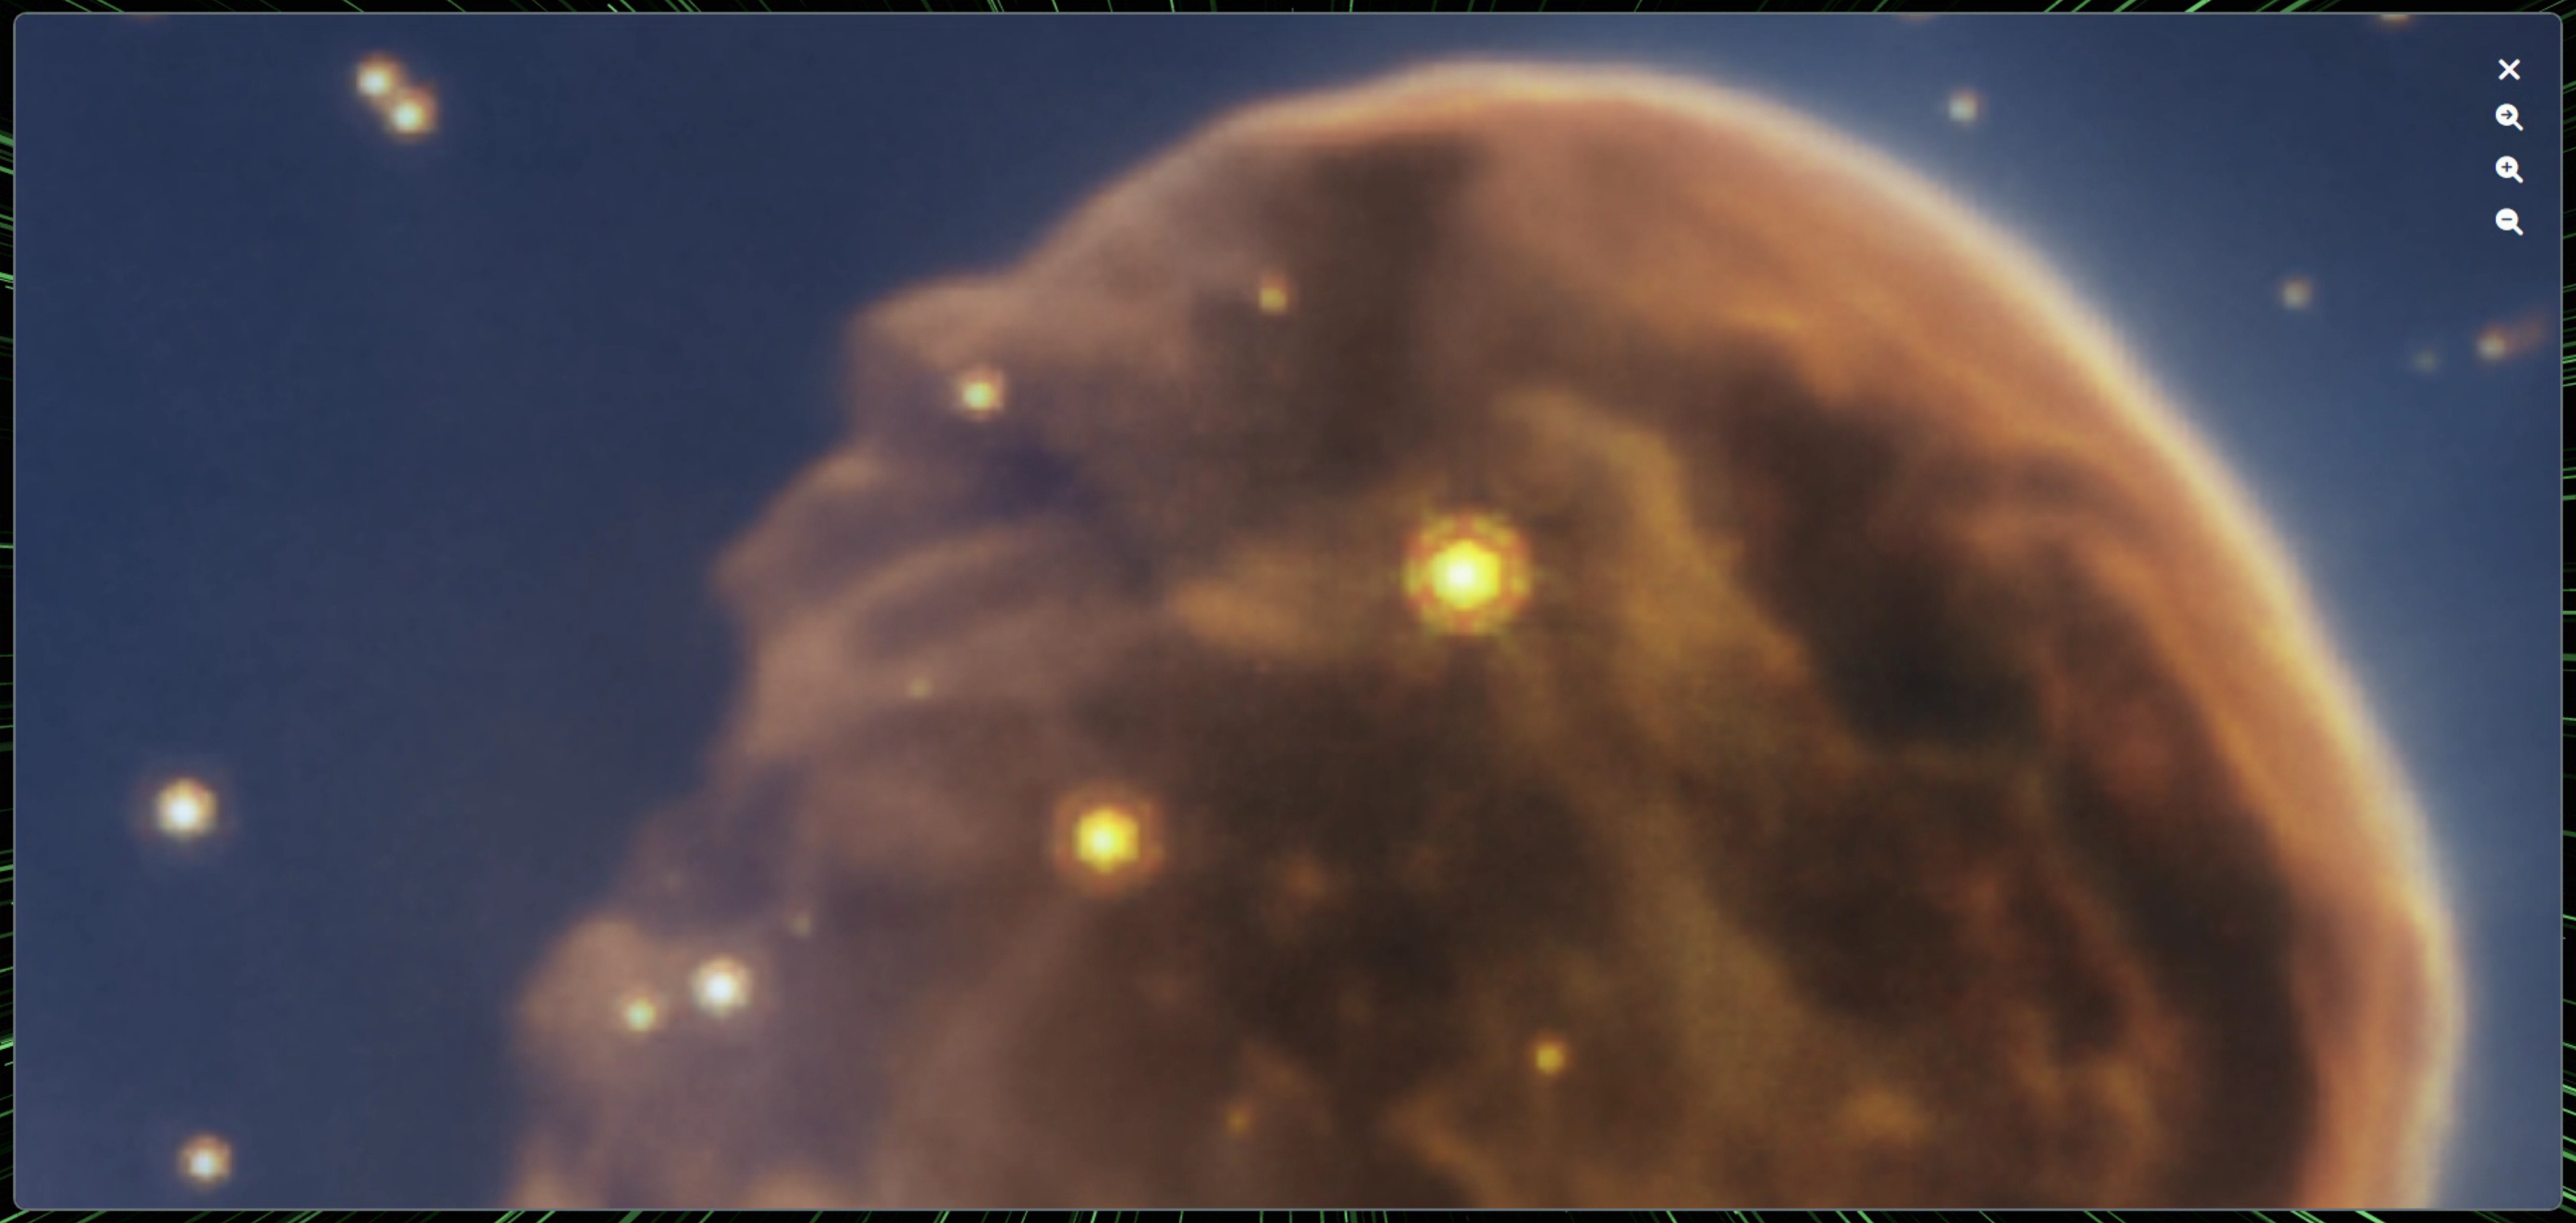
More Zoom.
Maximum Zoom.
The minimum and maximum zoom levels can be set for the panzoom JavaScript library, so it may make some sense to adjust those values based on the resolution of the original image.
Image Data.
Just one more administrative thing to do before we finish up for today, and that's to populate the rest of the details of the image in the Tabulator column. In this case, we've got a Tabulator cell and we're just going to fill it with a collection of bits of information. This will include links to the three image sizes, a link to the original source page for the image, details about the image itself - the resolution and format, as well as the date and the instrument used. A lot of data to pack in a small space, but it is always the same data in the same amount of space.
This definitely falls under the "customFormatter" category for Tabulator. But not too terrible once we make a few assumptions about the space we're working in. All we're really doing is crafting straight-up regular HTML and inserting the various bits of data where needed. It's a mess, but a carefully controlled mess.
        { title: "Description",
          field: "NAME",
          headerSortTristate: true,
          formatter: function(cell, formatterParams, onRendered){
            return '<div style="width: 100%; height: 100%; font-size: 12px !important; display:flex; flex-direction: column; white-space:wrap">'+
                     '<div style="height: 40px; width:100%; overflow: none; white-space:normal;"><strong>'+cell.getRow().getCell('NAME').getValue()+'</strong></div>'+
                     '<div style="color: #ddd; height: 20px; width: 100%; overflow: none; white-space:normal;display:flex; justify-content:space-between;"><div>'+cell.getRow().getCell('DATE').getValue()+'</div>'+
                        '<div>'+cell.getRow().getCell('INSTRUMENT').getValue()+'</div>'+
                        '<div class="d-flex justify-content-center align-items-end" style="font-size:10px; width:20px;"><a target=_blank style="color:white; text-decoration:none;" href="'+cell.getRow().getCell('SMALL.URL').getValue()+'"><i class="fa-solid fa-fw fa-circle"></i></a></div>'+
                     '</div>'+
                     '<div style="color: #ddd; height: 20px; width: 100%; overflow: none; white-space:normal;display:flex; justify-content:space-between;"><div>'+cell.getRow().getCell('FULL.WIDTH').getValue()+' x '+cell.getRow().getCell('FULL.HEIGHT').getValue()+'</div>'+
                        '<div>'+cell.getRow().getCell('FULL.FORMAT').getValue()+' '+cell.getRow().getCell('FULL.SIZE').getValue()+' MB</div>'+
                        '<div class="d-flex justify-content-center align-items-start" style="font-size:12px; width:20px;"><a target=_blank style="color:white; text-decoration:none;" href="'+cell.getRow().getCell('LARGE.URL').getValue()+'"><i class="fa-solid fa-fw fa-circle"></i></a></div>'+
                     '</div>'+
                     '<div style="color: #fff; height: 20px; width: 100%; overflow: none; white-space:normal;display:flex; justify-content:space-between;"><div><a target=_blank style="text-decoration:none; color:white;" href="'+cell.getRow().getCell('URL').getValue()+'"><em>View Additional Source Information</em></a></div>'+
                        '<div class="d-flex justify-content-center align-items-start" style="font-size:14px; width:20px;"><a target=_blank style="color:white; text-decoration:none;" href="'+cell.getRow().getCell('FULL.URL').getValue()+'"><i class="fa-solid fa-fw fa-circle"></i></a></div>'+
                     '</div>'+
                   '</div>';
          }
        }
The result is a reasonably formatted display, which looks like the following.
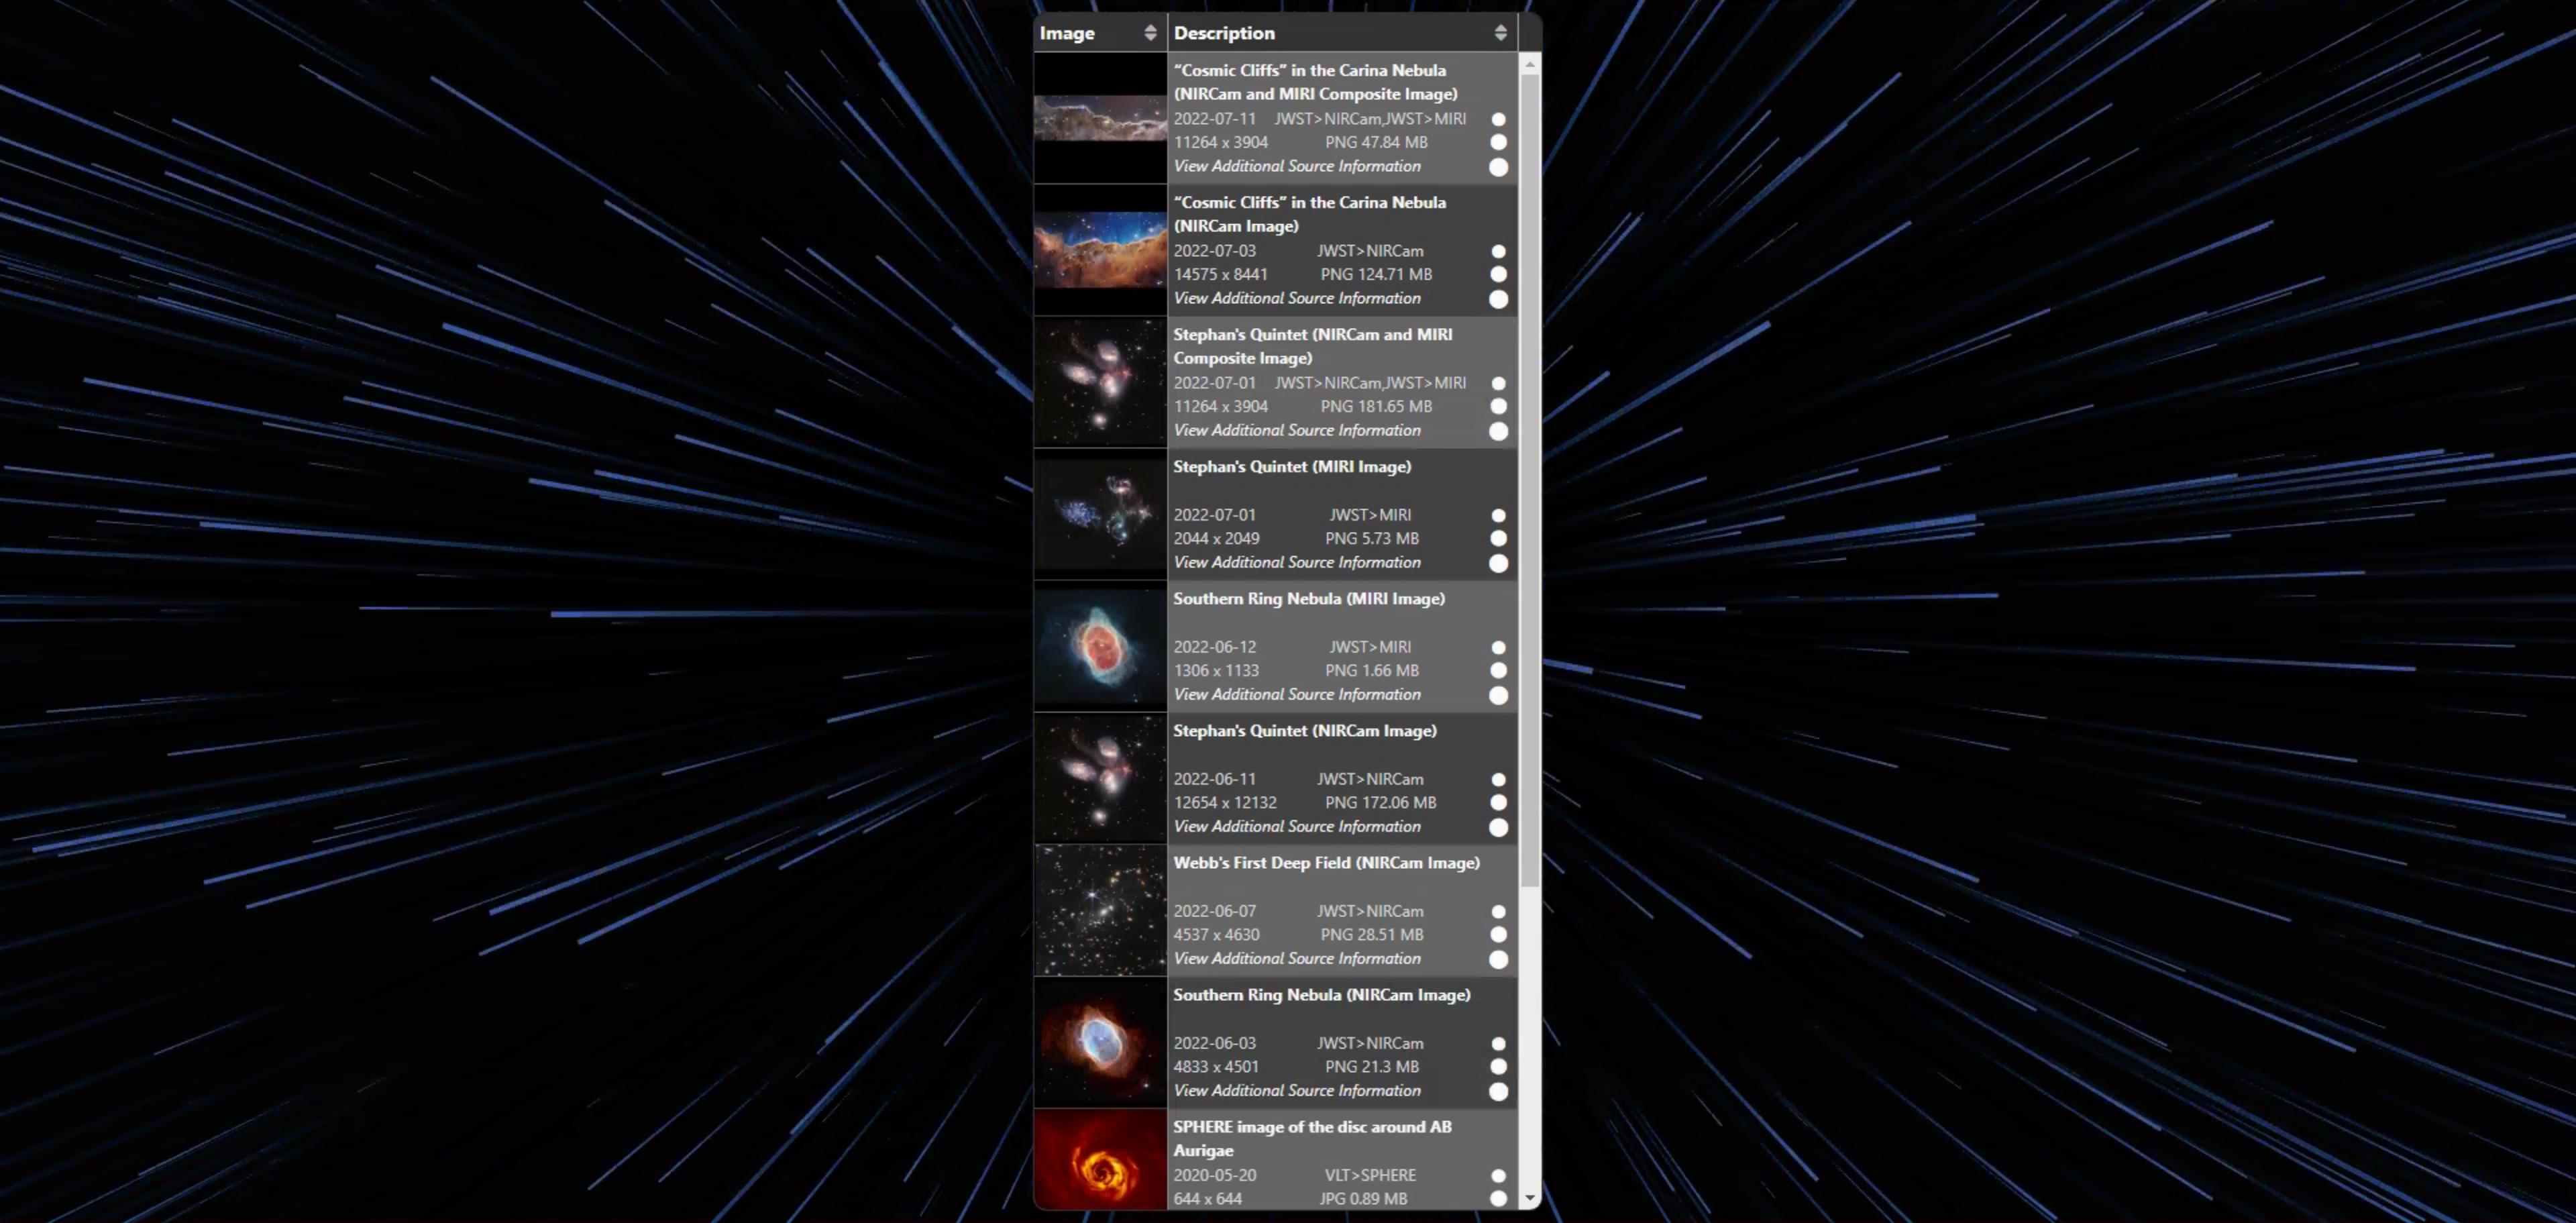
UI with Image Detail.
Endless Possibilities.
Much more could be done from this point. Adding in the lazy loading we've already covered, for example. Or having a progress bar for the super-long loading times. Also, much of the astronomy image data is stored as TIFF files, which aren't particularly browser friendly, so addressing that would be an improvement and open up more avenues for data in this instance. Naturally, if your project doesn't use astronomy data, this is likely to be a non-issue. Perhaps we'll address some of these kinds of things in a future iteration of this app. These example apps have a habit of popping up again from time to time, after all.
But that's all we'll cover today. As usual, please do post any questions or comments that come to mind, or by all means suggest other JavaScript libraries to cover. There are still quite a few on the list, but certainly open to suggestions. Here's the project file for this post.
Follow Andrew on 𝕏 at @WebCoreAndMore or join our 𝕏 Web Core and More Community.
Andrew Simard

This blog post has not received any comments yet.
All Blog Posts | Next Post | Previous Post